9 DAYS MOUNT KILIMANJARO NORTHERN CIRCUIT
MOUNT KILIMANJARO NORTHERN CIRCUIT ROUTE
There are six established routes to climb Mount Kilimanjaro – Marangu, Machame, Lemosho, Shira, Rongai and Umbwe. The Marangu, Machame, and Umbwe routes all approach from the south of the mountain. The Lemosho and Shira routes approach from the west. The Rongai route approaches from the north near Kenya. All routes except Marangu and Rongai descend via Mweka.
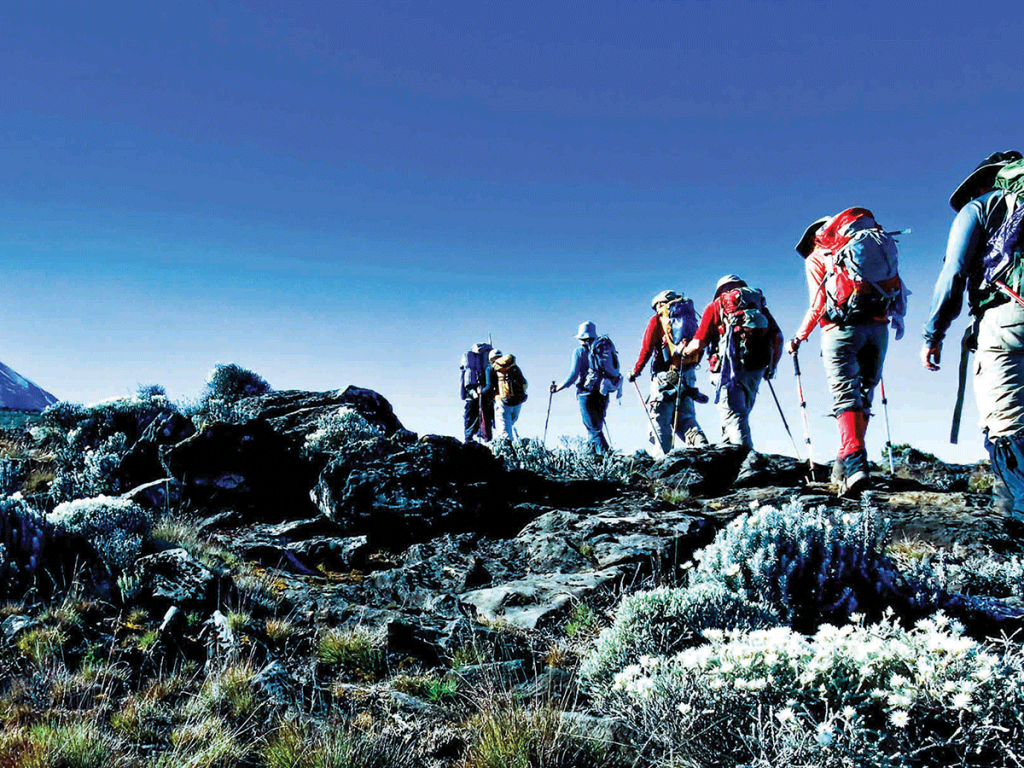
The Northern Circuit route is one of the best routes on Kilimanjaro, offering nearly 360 degrees of beautiful scenery including the quiet, rarely visited northern slopes. As the longest route on Kilimanjaro, the Northern Circuit allows for the best acclimatization time and the highest summit success rate, therefore this route is highly recommended.
The route approaches Mount Kilimanjaro from the west, beginning with a long drive from Moshi to Londorossi Gate. From there, the first two days are spent trekking through the rainforest to Shira Ridge, before crossing the Shira Plateau. The route then heads north and circles clockwise from Moir Hut to Buffalo Camp to School Hut, before summiting from the east.
Details
Altitude gained: 396m
The Northern Circuit Route begins at Londorossi Gate (2,100 meters) in the West, the same start point as the Lemosho Route. The drive to Londorossi Gate takes approximately two hours from Moshi and considerably longer from Arusha. Registration with the Kilimanjaro National Park authorities occurs at the gate and then you will be driven further up the mountain to the trailhead starting point. Most tour operators serve lunch here before the short first-day trek to MtiMkubwa Camp (2,785 meters) begins. You may get lucky and spot large wildlife like elephant and buffalo that sometimes emerge from the rainforest onto the path as you trek towards your first camp. Dinner will be served when you reach Mti Mkubwa Camp.
Distance: ~4.8km / 3 miles
Trekking time: 3-4 hours
Zone: Rainforest
Altitude gained: 719m
You will spend the first-hour trekking through the last section of rainforest path before entering the low alpine moorland zone which follows up onto the Shira Plateau. The trek is relatively short and gradual, ending at Shira Camp 1 (3,504 meters).
Distance: ~7.9km / 5 miles
Trekking time: 5-6 hours
Zone: Rainforest / Low Alpine Zone
Altitude gained: 657m
A long trek heading east which passes through the ‘Garden of the Senecios’ and then enters the high alpine desert zone. The morning is spent trekking up to Lava Tower and the iconic Shark’s Tooth rock formation at 4,600 meters, where you will have lunch. After lunch, you will join the northern circuit heading down to Moir Camp at 4,161 meters (see map above). This is an important day in your trek as you will get to experience high altitude and then sleep low, which is good for the acclimatization process.
Distance: ~ 9.8km / 6.1 miles
Trekking time: 5-7 hours
Zone: Low alpine zone / High alpine zone
Altitude loss: 122m
Today it involves a moderately steep climb out of Moir Valley. Trekkers can take a small detour here to climb the summit of Little Lent Hill at 4,375 meters before returning to the Northern Circuit trail. From here the route follows a series of inclines and declines, skirting around the northern slopes of Kibo to Buffalo Camp (4,033 meters). The trek gives great vistas out across the plains that lie north of Kilimanjaro and stretch out to the Kenyan / Tanzanian border. You will arrive at Buffalo Camp just after midday, where you will have lunch and have time to rest after a long day hiking.
Distance: ~9.2km / 5.8miles
Trekking time: 5-7 hours
Zone: High alpine zone
Altitude lost: 97m
Starts with a climb up the Buffalo Ridge and down into Pofu Camp where lunch is usually served. The route then continues east around the northern slopes to the Rongai Third Cave at 3,936 meters. The trek is shorter than the day before and by now you should be feeling well acclimatized to the altitude. You will arrive at the Third Cave just around mid-afternoon.
Distance: ~6.8km / 4.3miles
Trekking time: 5-7 hours
Zone: High alpine zone and low alpine zone
Altitude gained: 781m
Today it involves a steady incline up and over the Saddle which sits between the peaks of Kibo and Mawenzi Peak. Trekkers then continue walking south-west up to School Hut (4,800 meters). After arriving at School Hut you will be served an early dinner and then you should get some shut-eye as you will be awoken before midnight to start your summit attempt. Remember to prepare all your gear, including warm clothes, insulated water bottles, snacks, headlamp, and camera before going to bed.
Distance: ~4.8km / 3miles
Trekking time: 4-5 hours
Zone: High alpine zone and glacial zone
Altitude gained: 1178m
Altitude lost: 2068m (descent)
You will be awoken around 11:30 with hot tea and biscuits and will then begin the steep incline up to the slopes of Kibo under the cover of darkness. Your first check-point is Hans Meyer Cave where you will take a short break. The climb steepens as you approach Gilman’s Point (5,681 meters), which will be around 5-6 hours after departing School Hut. Take a moment to enjoy the approaching dawn and incredible view out and across to Mawenzi Peak, but remember you still have 2 hours trekking to reach Uhuru Peak so dig deep for the energy. The slope flattens as you head west around the crater rim and you should arrive at the summit at or just after sunrise. Your stay here will be brief so get as many pictures as you can of the incredible views and surrounding glaciers. You will then retrace your steps back around the crater rim to Stella Point (5,739 meters) where you will turn south and head down the heavily screed slopes of Kibo to Barafu Camp (4,680 meters). Most trekkers take a short break here before continuing down to Millennium Camp (3,950 meters) for your final night on the mountain. In total, you will be trekking for 14-16 hours on day eight so it is important to pace yourself, remain hydrated and keep your blood sugar levels up. Note: some tour operators return via Gilman’s Point to Horombo Hut using the Marangu Route.
You will be awoken around 11:30 with hot tea and biscuits and will then begin the steep incline up to the slopes of Kibo under the cover of darkness. Your first check-point is Hans Meyer Cave where you will take a short break. The climb steepens as you approach Gilman’s Point (5,681 meters)
Distance: ~5.9km / 3.7 miles ascent and 8.4km / 5.2 mile descent
Trekking time: 6-8 hours ascent and then 4-6 hour descent
Zone: Glacial zone and all preceding zones
Altitude lost: 2194m
After breakfast and a heartfelt ceremony of appreciation and team bonding with your crew, it’s time to say goodbye. We continue the descent down to the Mweka Park Gate to receive your summit certificates. As the weather is drastically warmer, the terrain is wet, muddy and steep and we highly recommend Gaiters and trekking poles.
From the gate, a vehicle will meet you at Mweka village to drive you back to your hotel in Moshi (about 30 minutes). Enjoy a long overdue hot shower, dinner and celebrations!!
Distance: ~12.2km / 7.6 miles
Trekking time: 3-4 hours
Zone: Rainforest zone
No Review
Accommodation0
Transport0
Comfort0
Hospitality0
Food0